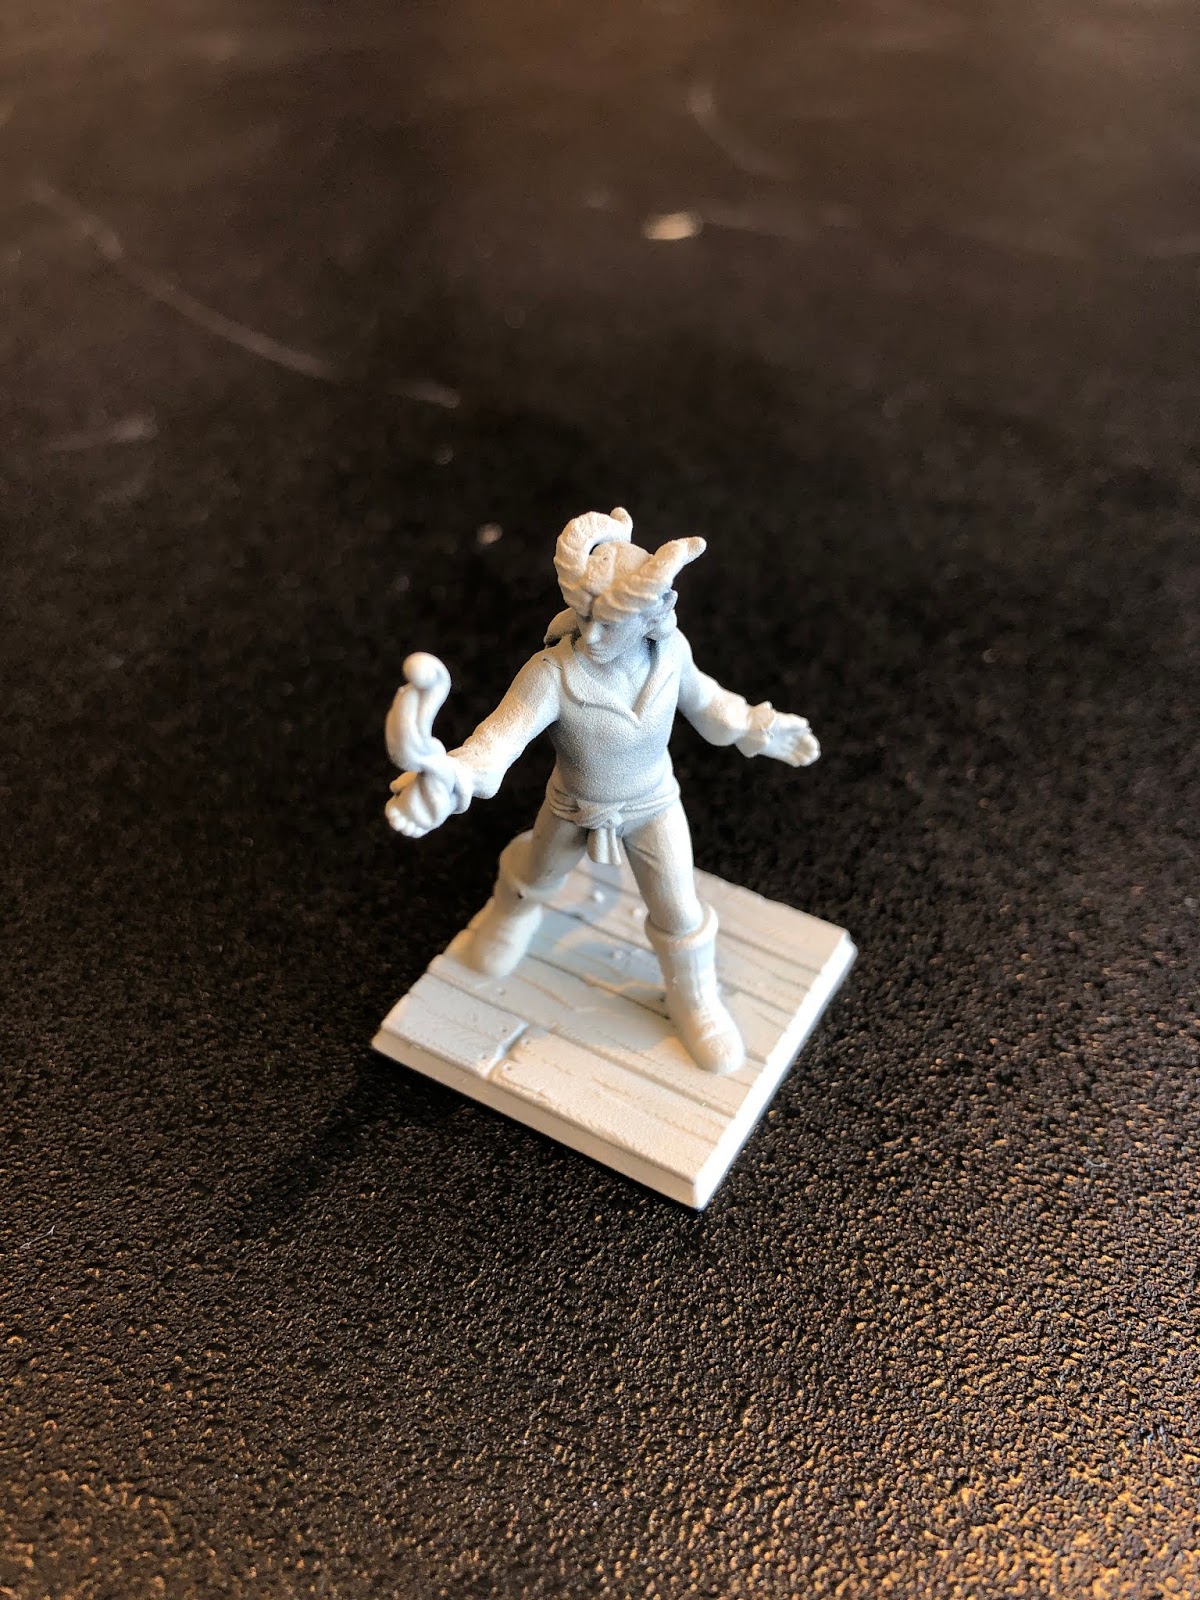
The assault terminators were actually practice for my Terminator Chaplain which is now in progress. Since I'll be doing a few new things with gold and bronze, I decided to do a classic Mk. 7 Ultramarine Captain simultaneously to test.
Chappy 'n Cappy
Saturday, December 7, 2019
Wednesday, October 30, 2019
Note to self: brushing on Dullcote can ruin a paint job
I think I knew this and then forgot it, so I'm going to immortalize it here to remember (the point of this anyhow).
I was brushing on some dullcote and forgot the rule to just apply and not move it around. If you do it strips off the paint. Not usually a problem with spraying it on (since you're not brushing and its drying fast).
https://boardgamegeek.com/thread/1724477/so-you-want-brush-testors-dullcote
So, almost completely destroyed the paint job on this D&D mini, but luckily I noticed it before too much damage had been done. I was able to fix it enough where hopefully no one except for me will notice.
I was brushing on some dullcote and forgot the rule to just apply and not move it around. If you do it strips off the paint. Not usually a problem with spraying it on (since you're not brushing and its drying fast).
https://boardgamegeek.com/thread/1724477/so-you-want-brush-testors-dullcote
So, almost completely destroyed the paint job on this D&D mini, but luckily I noticed it before too much damage had been done. I was able to fix it enough where hopefully no one except for me will notice.
Thursday, October 24, 2019
Termies: Then and Now
Inspired by some reddit posts earlier this month, I decided to create a few collages of the terminators just to see my progress in the past year or so. It was quite surprising actually to see how much I have improved. It's funny too, because at the time I did the first set I thought I was doing a great job, and I'm still proud of them, but really they don't look so great next to the new ones.
But its great to see how the vast majority of 40k hobbyists on reddit encourage each other and help everyone improve, because a painted army is way more fun to play against than an unpainted one.
I also can tell I got a bit better at taking and editing the pictures with the phone. It does seem the latest ones are a bit washed out though.
But its great to see how the vast majority of 40k hobbyists on reddit encourage each other and help everyone improve, because a painted army is way more fun to play against than an unpainted one.
I also can tell I got a bit better at taking and editing the pictures with the phone. It does seem the latest ones are a bit washed out though.
Sunday, October 6, 2019
Assault Termie GIFs
The Assault Terminators are complete but I wanted to continue with the promised follow-up post with time-lapse gifs showing their incremental progress.
The images below span from approximately June to October 2019 starting from just after finishing the base coats. They might cycle a bit fast. Next time I might make the gif have a longer delay.
My techniques are continuing to improve, I feel I did much better with the white this time, but still I'm working on using thinner and thinner paint. It always seems the paint is really hard to control when it is thin, because it gets runny, but it seems that is why the pros use the larger sized brushes? Still more practice is needed. Nevertheless, from 2-3 feet away my models look incredible and so I think I should be good to work on my Terminator Chaplain, but perhaps I'll simultaneously work on an old Captain HQ (which I have in duplicate) to test run things first.
I should note that in this picture the two terminators with TH+SS combos in the back row were not stripped and had thick coats of paint that had ruined their detail a bit. I had purchased them off eBay this way, and rather than deal with harsh chemicals, and mostly due to laziness, I decided to see how well my paint job would hide it. With the camera you can definitely tell (which is why I didn't take any close-ups of those two), but from a distance they look fine.
I think in the future to take better time lapse pictures for any more than one model I might mark their positions on the paper that I use for a backdrop. Sorry that they jump around, but the whole point of this blog is to document things I learn as I go.
Speaking of learning - on reddit I just now ran into a link to painting tutorials by Darren Latham, they're really good and he has some on painting faces, power swords, and black armor - all very relevant things for me. I think this is the next step for my personal progression - and specifically how diluted the paint is he works with and how he applies it.
The images below span from approximately June to October 2019 starting from just after finishing the base coats. They might cycle a bit fast. Next time I might make the gif have a longer delay.
My techniques are continuing to improve, I feel I did much better with the white this time, but still I'm working on using thinner and thinner paint. It always seems the paint is really hard to control when it is thin, because it gets runny, but it seems that is why the pros use the larger sized brushes? Still more practice is needed. Nevertheless, from 2-3 feet away my models look incredible and so I think I should be good to work on my Terminator Chaplain, but perhaps I'll simultaneously work on an old Captain HQ (which I have in duplicate) to test run things first.
I should note that in this picture the two terminators with TH+SS combos in the back row were not stripped and had thick coats of paint that had ruined their detail a bit. I had purchased them off eBay this way, and rather than deal with harsh chemicals, and mostly due to laziness, I decided to see how well my paint job would hide it. With the camera you can definitely tell (which is why I didn't take any close-ups of those two), but from a distance they look fine.
I think in the future to take better time lapse pictures for any more than one model I might mark their positions on the paper that I use for a backdrop. Sorry that they jump around, but the whole point of this blog is to document things I learn as I go.
Speaking of learning - on reddit I just now ran into a link to painting tutorials by Darren Latham, they're really good and he has some on painting faces, power swords, and black armor - all very relevant things for me. I think this is the next step for my personal progression - and specifically how diluted the paint is he works with and how he applies it.
Tuesday, October 1, 2019
Assault Termies Complete!
Just completed my Assault Terminators and I'm very happy with the results. Maybe in my next post I'll compare the progress I've made since the (standard) Terminator squad a year ago, but even I was amazed.
These represent some of the first models that I've painted that weren't originally bought years ago, but instead purchased much later on ebay to fill in my 'classic' Rogue Trader era collection. They're all done (note the lead picture was taken just before the final step of adding silver highlights after the dullcoat - forgot to retake that picture, will fix later).
I do have a Terminator Chaplain (hint as to next project) which is a bit beyond the classics but fills in my all termie HQs, and so these models were picked up to go with him and also be a practice run.
Thus explains the color scheme. However, just like my red Ultramarine Terminator squad, these black Assault Termies are veterans who get to adorn their armor with an alternate color (says me). I was never a fan of the very rigid color schemes that they pushed people into. Anyway, there's examples of this with Deathwing, and I came up with this plan way before there were such in-depth codices, its just taken this long to implement it.
So I wanted to get black power armor practice which means it was time to learn a new skill: edge painting. I found the Giovanni Di Lena tutorial and went to work. Also, I needed upgrades which I posted about earlier - the improved brushes, wet palette, and most importantly, the magnifying glasses. It really helped to be able to see the details. While the steady hand and figuring out how to work with the various colors is always a constant struggle that you can really only learn through experience, just seeing what your doing is surprisingly important!
Also, the excel spreadsheet really helped me to focus on getting work done every night rather than sitting around for half the time (no joke) trying to remember the plan. I highly recommend these things. It took almost exactly 75 hours to paint all 10 (doesn't include assembly or priming). For comparison, the Librarian was 12.6 hours, so adding models as you might expect can increase efficiency a bit.
I didn't have a pot of Dark Reaper, so I used 50/50 VMC Basalt Gray and VMC Black, it worked fine I think, but we'll see next time (I got some of the Dark Reaper now).
Also, this was the first time I was successful at lettering and the text on the purity seals with paint on a brush rather than using the micropoint pen. Again quite a step up. I lucked out here and got all 3 letters on the first try.
In a continuation post I'll show some WIP pictures as they progressed through various stages. To get the extra white backgrounds I bumped up the exposure on the pictures a bit, which looks more washed out on the PC as compared to the phone screen. I'll have to play around with it more.
Also, this was the first time I was successful at lettering and the text on the purity seals with paint on a brush rather than using the micropoint pen. Again quite a step up. I lucked out here and got all 3 letters on the first try.
In a continuation post I'll show some WIP pictures as they progressed through various stages. To get the extra white backgrounds I bumped up the exposure on the pictures a bit, which looks more washed out on the PC as compared to the phone screen. I'll have to play around with it more.
Sunday, September 15, 2019
Painting upgrades
I've got a project that I've been working on for awhile now and I am close to sharing it. I've so far logged 51.7 hours and I estimate about 20 more hours to go.
In the meantime, for this project I wanted to make significant improvements, so for that goal I started using a wet palette finally, got some nice Raphael 8404s and Winsor & Newton 7 series brushes, some brush cleaner, and a magnifying headset. I am pretty sure they have all helped a lot.
While before I was using this very same palette (which is for water colors) I was only using it to mix paints with slow dry blending medium. The paint would stay good for a few hours. But now with the parchment paper and wet paper towels the paint can last many days. I have had to get used to some of the new behaviors (for example it seems to separate so you have to mix it a bit, and I cant use the paperclip I used before as it will rip through, so I use an old brush to mix).
I got two types of Raphaels, the 8404s and an 8408. I think the 8404s are much better, the 8408 is too pointed with a very long central hair and it doesn't work quite right. The Winsors are even better than the 8404s! I have a bunch of different sizes, but so far the 4/0 Raphael is working well and the 3/0 to a lesser degree. I've only tried the 000 Winsor so far but with great results for getting thin lines into tight areas. Now I just have to get better, since I've gotten the equipment recommended by the pros!
The brush cleaner is great, don't know how I was able to work without it before.
Finally, the magnifying glasses are amazing. I searched and saw a recommendation for this brand and it comes with several lenses at different magnifications. I started with 2.5x but have been able to go up to the max 3.5x and again I don't know what I did before. It goes through batteries pretty quick though.
Hope to show my results very soon.
In the meantime, for this project I wanted to make significant improvements, so for that goal I started using a wet palette finally, got some nice Raphael 8404s and Winsor & Newton 7 series brushes, some brush cleaner, and a magnifying headset. I am pretty sure they have all helped a lot.
While before I was using this very same palette (which is for water colors) I was only using it to mix paints with slow dry blending medium. The paint would stay good for a few hours. But now with the parchment paper and wet paper towels the paint can last many days. I have had to get used to some of the new behaviors (for example it seems to separate so you have to mix it a bit, and I cant use the paperclip I used before as it will rip through, so I use an old brush to mix).
I got two types of Raphaels, the 8404s and an 8408. I think the 8404s are much better, the 8408 is too pointed with a very long central hair and it doesn't work quite right. The Winsors are even better than the 8404s! I have a bunch of different sizes, but so far the 4/0 Raphael is working well and the 3/0 to a lesser degree. I've only tried the 000 Winsor so far but with great results for getting thin lines into tight areas. Now I just have to get better, since I've gotten the equipment recommended by the pros!
The brush cleaner is great, don't know how I was able to work without it before.
Finally, the magnifying glasses are amazing. I searched and saw a recommendation for this brand and it comes with several lenses at different magnifications. I started with 2.5x but have been able to go up to the max 3.5x and again I don't know what I did before. It goes through batteries pretty quick though.
Hope to show my results very soon.
Friday, September 13, 2019
D&D Tiefling
As a side project I painted up a friend's Tiefling cleric for D&D. I used contrast paints and put this together in just a few hours, and most of that time was waiting for the base spray to dry. I think it turned out all right for a first shot. Definitely I observed some 'coffee staining' especially with the black. Also, if I had known I would have used a different set of blues, I tired Ultramarines Blue for the skin and Leviadon Blue for hair, but it ended up looking about the same, so I had to use some washes of lighter conventional blue to bring up the skin tone.
Subscribe to:
Posts (Atom)