Showing posts with label WIP. Show all posts

Saturday, June 10, 2023

Next Project: Retro Rhinos and Razorback (WIP)


This next project will take a bit: I had 3 sealed original vehicles - 2 retro Rhinos and a retro Razorback that I obtained from a friend's collection.

Everything is original and was still on the sprues and of course the original transfers and instructions.


I even found a bonus sprue in the Razorback box that I'm having troubles identifying.


I've heard that the grip bar that runs along the top of the rhino is very fragile, and I can tell looking at how thin they are.  My plan is to get some brass rods and shape/solder them into the same form.  I also want to magnetize the turret and add some internal filler (thinking wood blocks) to the main hull to add some weight and structure. Since the turret addon for the Razorback is metal, I think the internal structure will be important for supporting and balancing it as well.


Monday, February 20, 2023

Vanguard Vets (WIP) Update 9 - Face Painting

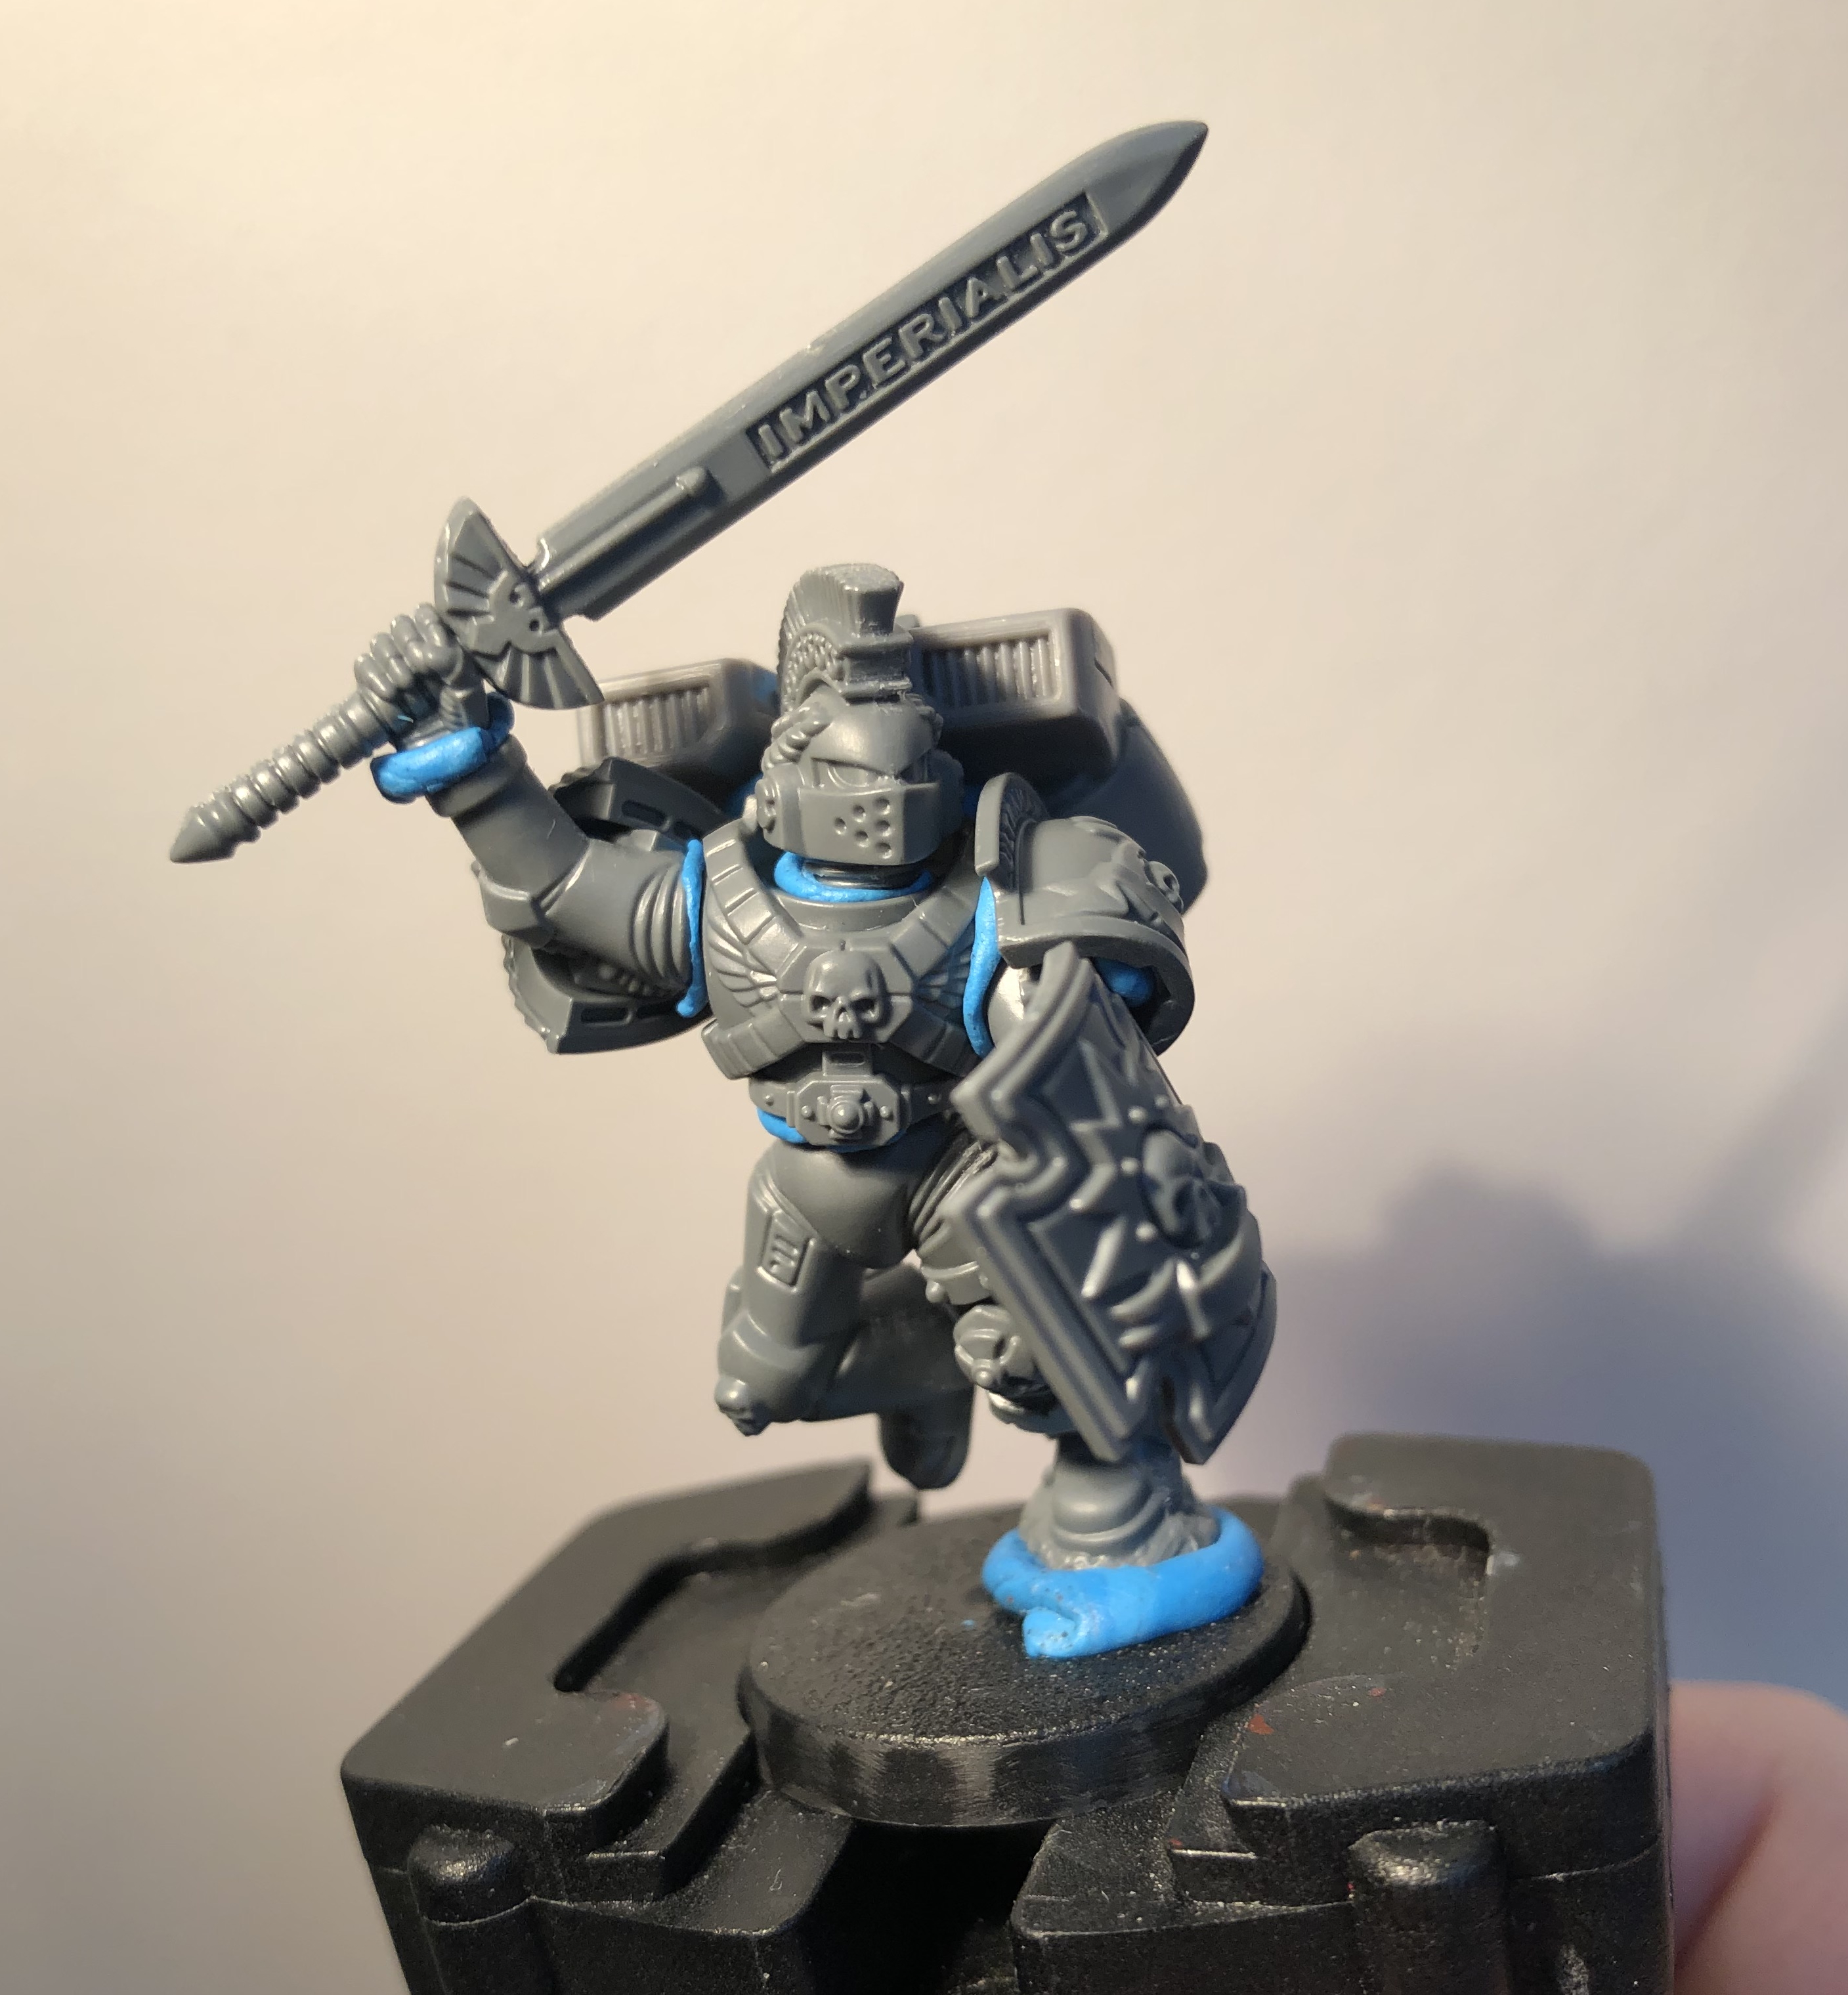
Really close to complete now.  Almost all colors have been shaded and highlighted.  What is left is lettering on the various scrolls, and the face on one of the two alternate sergeants.  Saving the hardest parts for last.


While I have painted a few faces before, looking back they were fine for my skill level at the time, but in the past few years I feel I've really improved a lot.  For this attempt, I was going to follow Darren Latham's technique.  I've used his contrast paint technique for a face before, but this would be the first time with conventional paint.

Starting Point: 4 or so coats of Bugman's Glow

With these zoomed in images, I can tell that I'm still not quite on the high level that I see from other hobbyists/professionals online, but I do see improvement from my own work in the past.  One thing that stands out though is the bumpiness - I think this is the spray primer which continues to disappoint, but when I look at the models in person they look much better.

Basic highlights added

I found Darren's instructions really detailed and easy to follow and I'm really pleased with the results.  Below I have the basic steps and paints for my own reference.  I don't typically work with paints thinned down to washes so much, especially since it tends to pond/pool, but after watching his work and trying this out, I think I've actually made a breakthrough in how to control the watery paint and draw it off if its ponding.

Basic shading added

The model itself has really extremely exaggerated cheekbones, more so than the primaris space marine head that Darren used, so I used deeper shading, but otherwise I mostly followed his instructions (from his youtube video) directly.  Also, this miniature has barred teeth, so I used some Zandri Dust and Screaming Skull and it worked great (I felt white would be too much).  I used white ink for the first time and it is a lot better than white paint.  

Color glazes and final highlights added

The model seems to have one eye open and one eye closed (or the primer obscured the detail), and the open eye seems to have a deep scowl so you can only see the side of the eyeball.  Thus, I decided that, after the step to black out the eye, I just needed to put a dot of white on the side of the eyeball, and use the existing black to create the iris.  Since the narrowed eye and the direction he would be looking would mean you wouldn't see the white on the other side of the iris, it massively simplified the hardest steps of painting the eyes.  I think it turned out great, especially when viewed in person.  With my magnifying glasses, I can tell it still isn't quite perfect, but overall I'm really happy my first time trying this technique out, it worked much, much better than the methods I had pieced together before.

Final details: eyes, teeth, etc added

This time I skipped adding stubble/ 5o'clock shadow.  Either the sculpt has scaring on the left side of the face (in shadow here) or the primer/finish kinda messed up the details, but either way I decided trying to go for the stubble wouldn't turn out.  Maybe next time.  Looking forward to trying this again and using darker shades to vary the skin tone.


Finally, here's the whole troop (just before painting the face):


Friday, January 20, 2023

Vanguard Veterans (WIP) Update 8

Starting to look close to done now.  Completed some major milestones:  Got the first of two layers of edge highlights - the Calgar Blue is done and just have to do the Fenrisian Grey - on all of the power armor.  And two, finished all of the non-metalic metal (NMM) gold on pretty much everything.


I don't think I can give a guide for NMM, and there's tons out there that are really good, but I do want to offer words of encouragement.  Dont feel like you have to do the perfect mirror finish, I've opted for a "brushed" or "sandblased" gold that is more reflective than the matte power armor areas, but isn't mirrored either.  The basic idea is that on non reflective surfaces the gradient from shade to highlight might be somewhat linear, while something semi reflective makes this more exponential - slower to stay shaded and then suddenly pops to a bright highlight.  Then when you get to mirror finish you have to worry about reflections and such which adds a lot more complexity, so by skipping those reflections with a brushed look, or simplified NMM seems like a good starting point.


Kinda hard to tell with the lighting but first everything is flat Mornfang Brown

Next we've glazed in mixes of brown and orange all the way to full on orange in the areas towards the light source

And then it all comes together with Vallejo Golden Yellow on the edges and in very small amounts on surfaces, and Vallejo Flat yellow dot highlights and vertices.


Monday, January 2, 2023

Vanguard Veterans (WIP) Update 7

First set of blue highlights are complete across all areas!  It took 13 hours.  I'm convinced that my technique is the slowest.


I'm now starting in on a basic NMM technique that I've used before on the gold areas.  I think that they have a brushed metal, so I'm not going for full on mirror NMM reflections yet.  The shield on the right is the base brown (such as above as well), and the shield on the left has the first few layers of brown-orange and orange.  There will be a shade (to fix anything that fell into a recess) and then a few more layers of golden yellow and yellow in very limited amounts to complete the effect.  I'm adding glaze medium to help smooth the transitions.


Monday, December 19, 2022

Vanguard Veterans (WIP) Update 6

Progress on the vanguard vets:

Sky Gray on the helms in a few layers.  Also did gray on the lenses and then used Blood Angels Red contrast to color them in.


My planning sheet would have had me start on adding another level to the gold areas (brown-orange) if I were to follow previous patterns.  Instead, I've decided to do the shading and highlighting on all the blue first, then go in to do shading and highlights for all the rest.  The main reason is that once the blue is done I can attach the arms in the intended poses and know what the lighting will look like for the shade and highlights on the arms etc, without worrying too much about swapping them on and off as much.  Since they're magnetized its not too big of a deal, but I'd prefer to not be fiddling with it as much as I can.

Wednesday, December 7, 2022

Vanguard Veterans (WIP) Update 5

Midtone blue base layer (coat 1) done.  There are patches where it is patchy because I still need to apply the second layer that will even it out, but I think I want to shade first so that I can also glaze a nice transition in the shadowy areas.


Thursday, December 1, 2022

Vanguard Veterans (WIP) Update 4

Basecoats are blocked in for most colors, and just starting on the 2nd level layer of blue.


Tuesday, November 22, 2022

Vanguard Veterans (WIP) Update 3

Vanguard Vets are magnetized and primed and painting is in progress!

The base coat priming didn't go on exactly as I'd like.  It's such an important step and it seems like there is a lot in the hands of the humidity and temperature gods.  I think this time I sprayed when it was too dry and windy and a bit too far away so there is a very minor fuzz in a few patches.  

Some of the tricks online are to use glass wine bottles with the miniature tacked to the cap.  This provides a heavy, stable base that wont get blown around in the wind and allows you to hold the miniature so you can get a good angle on the underside and also spin to get 360.  The video I watched also seemed to have them spray closer than I have been which might help with the spray drying too much before contact.


Tuesday, September 6, 2022

Vanguard Veterans (WIP) Update 2

Blue tac-ed the sergeant into the final pose.  While most of the unit will be classic metal miniatures - I wanted to use modern weapons, arms, and veteran pauldrons.  For the sergeant I'm using a completely modern set of plastic to get a bit more dynamic of a pose - first so he stands out a bit, and second because I wanted to use the ultramarine helm and it required the body.


Monday, July 4, 2022

Vanguard Veterans (WIP)

As already previewed in a prior post: I’ve started working on some (retro of course) Vanguard Veterans with jump packs.

These came from a friend’s collection that I inherited.  Some were in progress with paint, others were still in blister packs.


Sunday, February 27, 2022

Bonus: Grey Knight WIP

Before I can finish up the Techmarine and Apothecary, I need drive out to visit my dad to use the Foredom to drill out the holes to pin them together (not going to repeat drilling into pewter again if I don't have to!)

So, in the meantime, I've had this sitting on the desk and I figured I'd try out a few new techniques!

First was to use a stippling technique with a blunt Artis Opus dry brush that I saw in a video about 'grim dark' Ultramarine paint styles by Richard Gray.  I applied it here to give a texture to the bronze base coat.  In general I was following a scheme from a "Vertisee Models" video for a weathered Grey Knight.

I found I had to use a wash of Snake Bite Leather Contrast over the bronze to get the real dark effect I was looking for, then a dry brush of Leadbelcher and then silver highlights for the edges and scratches.  Overall it achieved the effect I wanted - armor that looked ancient - like a very weathered coin.

I will say that I can see why people go for NMM (non-metal metallics) because working with metallic paint isn't great.  Namely, its hard to get it to look really crisp with sharp lines.  I feel like in the pictures exaggerate the problem though because in person it does look a bit better.

For the Nemesis Force Sword, I found a lot of videos to work magic with air brushes - but not really useful for me.  I found Juan Hidalgo's video and it was what I was going for.  This is the second time I had used one of his videos, I followed his technique for the plasma pistol OSL as well.  It was very approachable and turned out pretty well!

I didn't have any of the colors he used, so I substituted in Vallejo Deep Sky Blue for the base, then a mix of Deep Sky Blue + Skarsnik Green + White glazes in various concentrations for the shine, and blue ink for the shade in the other direction.  Then the black and white per his video.  It really worked out - this was the first try, so imagine after some practice!

Anyway, the whole thing so far came together in just 9 hours of paint time which is about 3/4ths as much time as I spent recently on the other models (per model).

Really all that is left is the base and then some varnish.  This prototype scheme will probably be what I use for the rest of my Rogue Trader era Grey Knight 5 man squad, though I might get the remaining colors for the sword so that I don't have to mix them (hopefully it is close enough).


Monday, February 21, 2022

Appy 'n Teckie (WIP) Update 4

All of the detail is done!  And I've applied a base coat of brush on varnish.  I think I will do that from now on (at least for important models) to add extra protection.  I've read that Testors Dullcoat spray doesn't protect very well.  I'll still use it for the finish, but I think the extra varnish under might be a good idea.

I still need to pin the backpacks on, finish the bases, and spray on the dullcoat.  And then also apply the final metallic highlights.


I finished the liquid vials on the backpack - the last step was to apply the blue colors for the upper part of the glass.  I think overall it was a success.


I just found some old references to post heresy Ultramarine Chief Apothecary and Master of the Forge names in an old White Dwarf (WD97).  Guess who now has names?


While I like using my own names for my models, and would never use 'Named' Character datasheets (well maybe someday I might get a Robby G...) but I will use a 'known' name that isn't attached to a datasheet, especially if its a really obscure and retro reference!  

But some of those names though, oh man, Christopher Columbus (basically) - right up there with Inquisitor Obiwan Sherlock Clousseau ;)

Friday, February 11, 2022

Appy 'n Teckie (WIP) Update 3

 Making more progress, and I've also been learning some new things!

First, I found a glazing tutorial by Dana Howl (aka @dana_howl) were I learned something useful that I hadn't heard before.  The main new thing was to wet a towel and unload 'most' of the glaze/paint from the brush before going in to paint.  'Most' still takes practice and experience, but the goal is to prevent flooding the area on the miniature.  This small bit of information which I had never heard before was huge!  It was the missing piece that I didn't know I didn't know.  I had always struggled with paint pooling/ponding and then creating marks at the edges of the pool if it dried even a little as I was trying to move it around.  I always thought it was a consistency problem or something and this finally gave me the answer!

She recommended using glaze medium rather than water which I had heard before, but I tried it again, and with the above information it was helpful in differentiating more for me in my mind the difference between a wash and a glaze.

Anyway, with that, I have made progress on several areas which directly benefitted from this new information and gave really good results.  For example, the Techmarine's helm lens/visor looks really good after applying some blended glazes from green to a slight lemon lime blend with yellow.

And of course, I started in on the green liquid in the Apothecary's backpack.  I'm following Louise Sugden's (aka @Savage_ork_guy) Citadel Colour Master Class Glass Bottles technique which was a huge help and so far it's turning out great.


Tuesday, February 1, 2022

Appy 'n Teckie (WIP) Update 2

 More progress with Appy 'n Teckie:

I've finished all of the base coats and most of the shading.  I think the white is turning out well.  I'm using the same formula I worked out on the Assault Terminator helms but have been applying even thinner coats and it's going well.  This is Vallejo Sky Gray (it comes through pretty white due to the photo).  Most of the shading is just the Vallejo Basalt Grey underneath rather than a shade.  I brought the Sky Grey down to a glaze for the last few layers over the shoulder studs, still needs some work I think.  For the Apothecary badge on the other shoulder I got as close as I dare could with the white, but I did want to leave a bit of darker gray to outline the badge.  There were a few spots that were just too small so I used some Apothecary White Contrast paint and it worked pretty well in those areas.

I figured out that with a ton more blue tac I could get the heavy metal Techmarine backpack to sit upright on the pin.  Now its a bit easier to paint.  Its going pretty well, I opted to use Basilicanum Grey Contrast (mixed with contrast medium) to shade rather than Blood Angels Red Contrast because it gives a bit more of a grimy/oily look that a Techmarine would probably have.  I did use some Blood Angels Red to shade larger patches of armor on the under side of arms and legs though.  I also used some Ork Flesh Contrast to tint the toolbox after first highlighting it with Vallejo Silver.  It turned out pretty well actually, was exactly the look I was going for.

I'm having fun with the glass vials on the Apothecary backpack.  I'm following a masterclass guide from GW.  I didn't have many of the colors they indicated in GW paint, but luckily it seems I had most of the equivalents in Vallejo.  For the glass its a 70/30 mx of Vallejo Deep Sky Blue and Vallejo Prussian Blue.  For the green liquid its 50/50 Caliban and Vallejo Intermediate Green, and the red liquid is Khorne Red.  I've also shaded the red with Blood Angels Red and the blue and green with Gryph-Charger Grey.